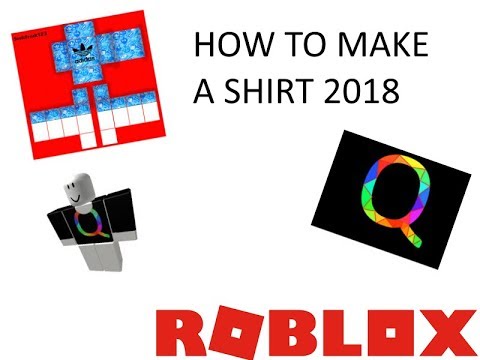
How To Create A Shirt In Roblox 2018

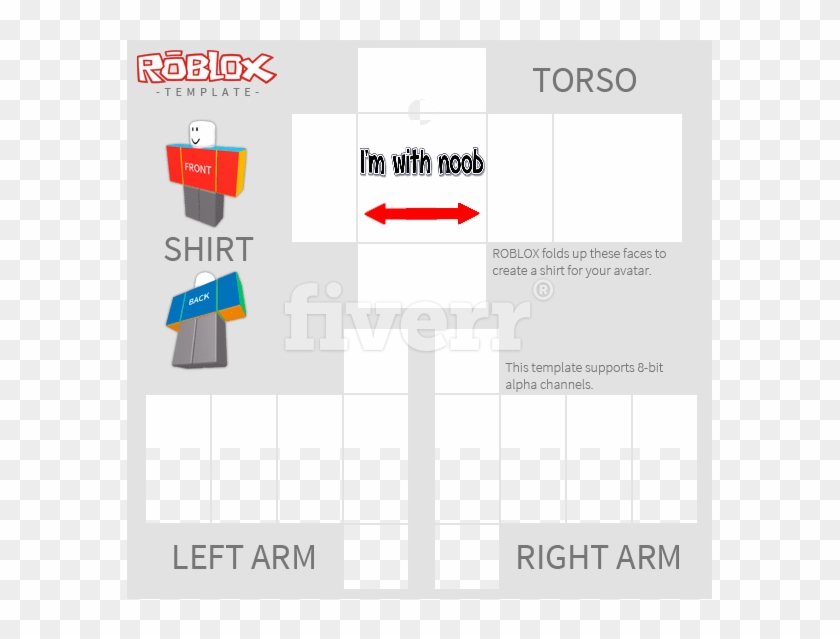
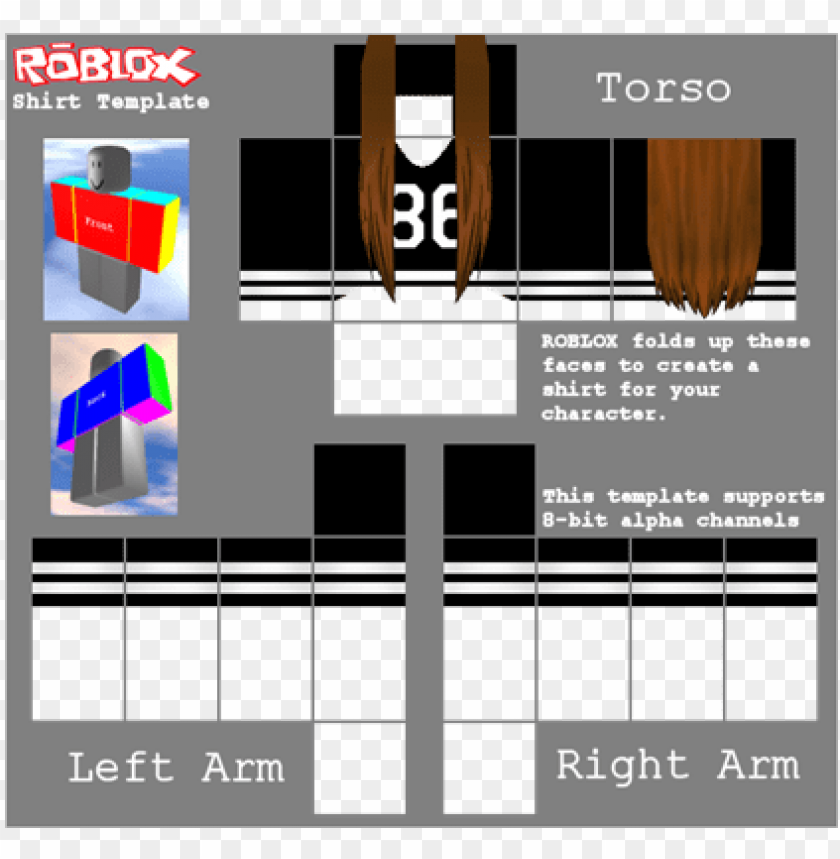
Download Roblox Template Roblox Templates Pinterest Template

How To Make Your Own Shirt In Roblox 2018 لم يسبق له مثيل الصور

How To Make Clothes In Roblox Roblox
Rainbow Electric Adidas Roblox
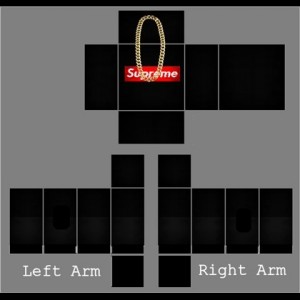
Yrn 8 Bit Supreme Xxmonsterlover Shirt Custom Roblox
Download Roblox Templates Roblox Template Twitter Roblox Shirt
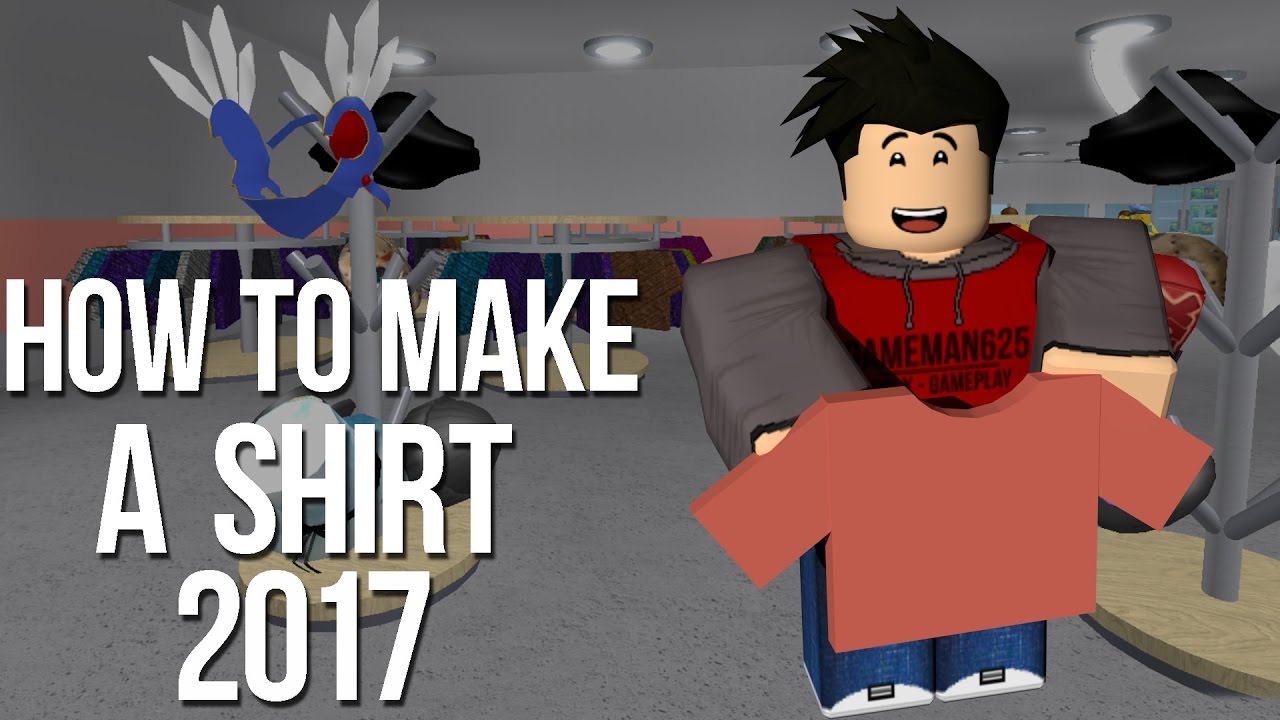
In this video i am showing you how to make roblox clothing subscribe to these awesome people.

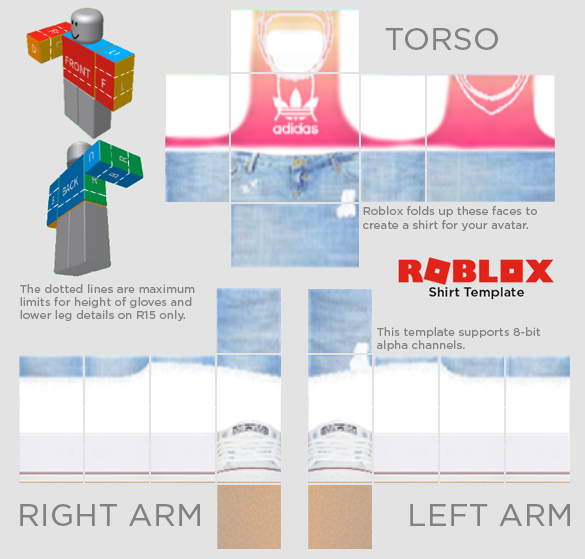
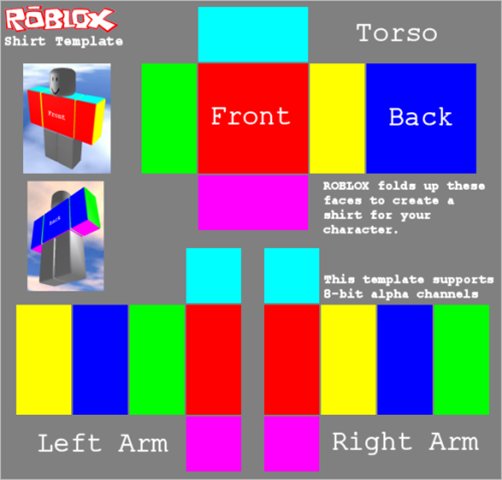
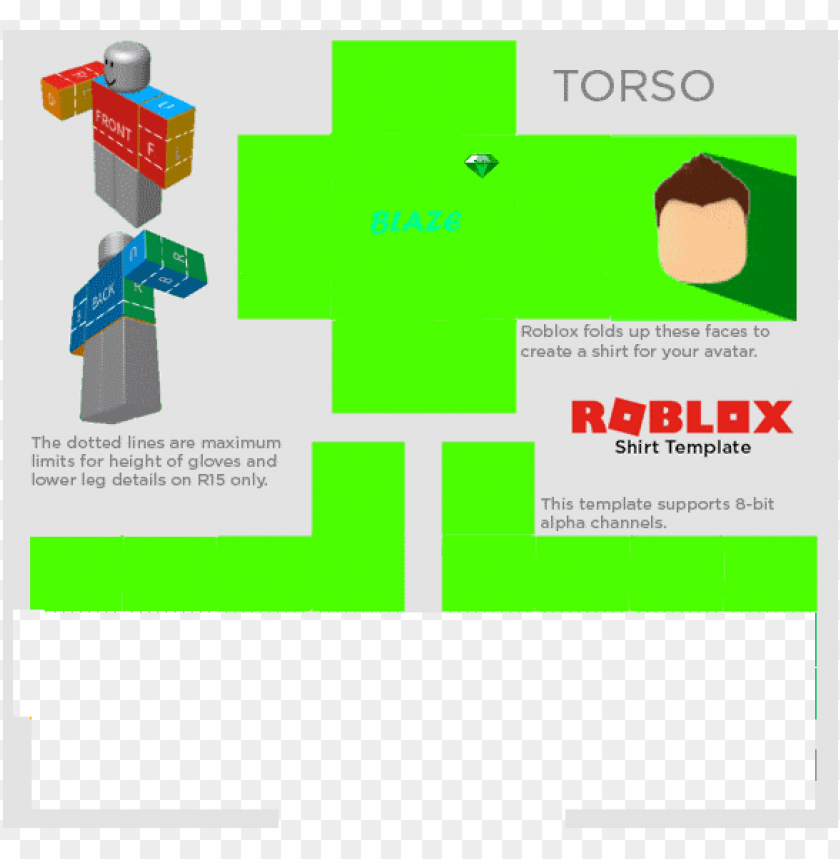
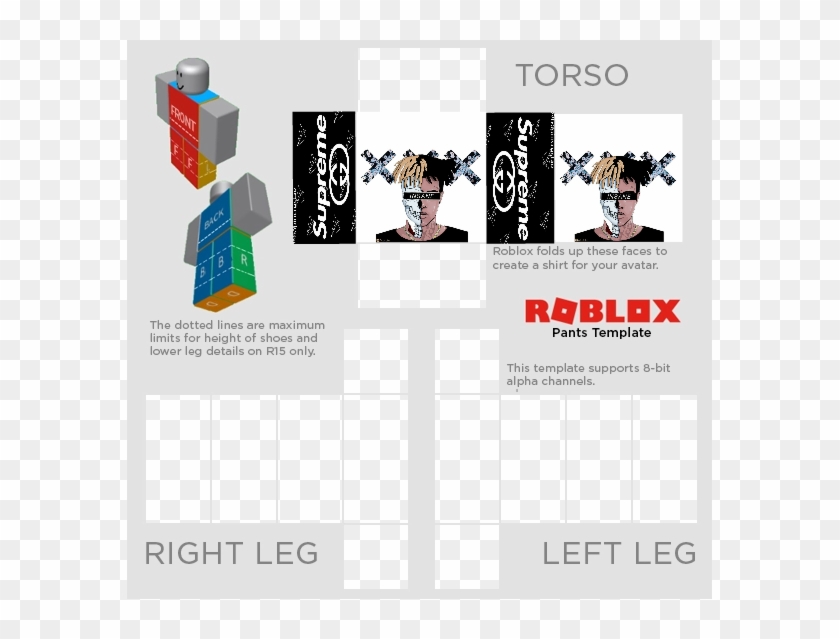
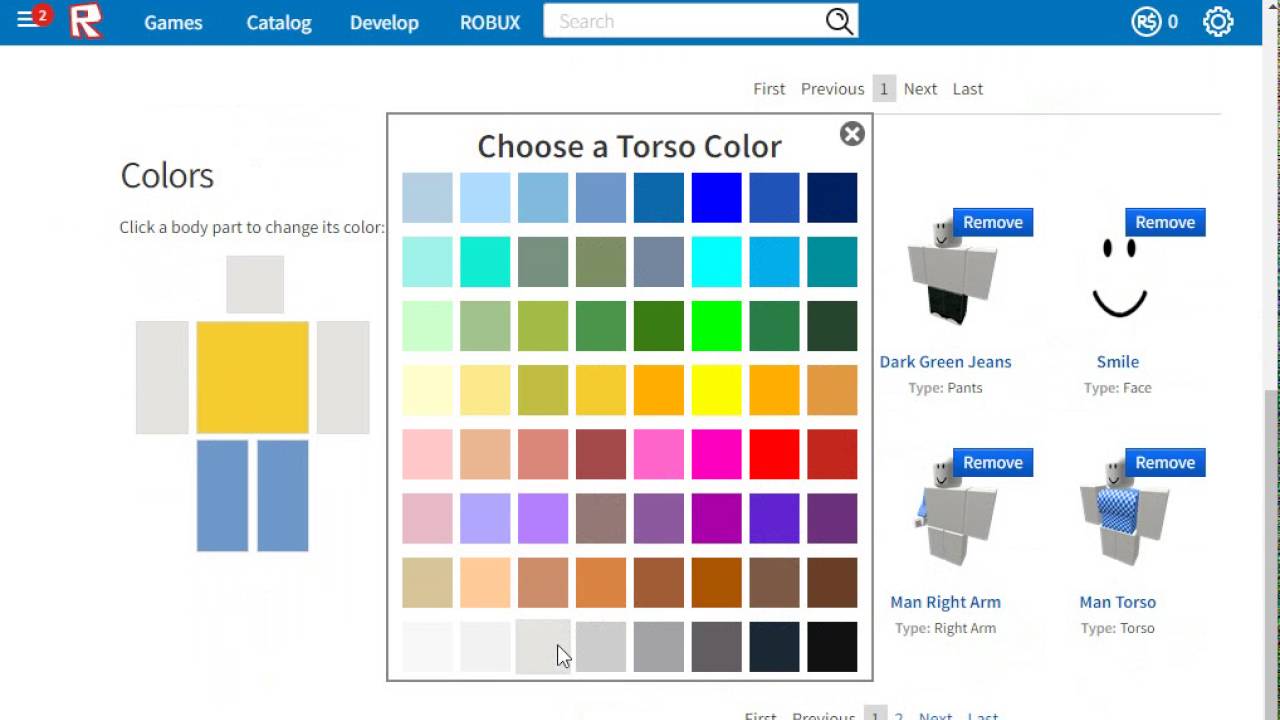
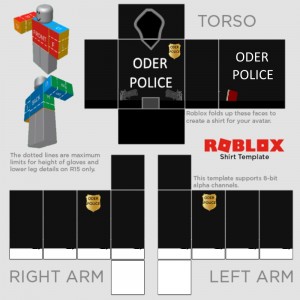
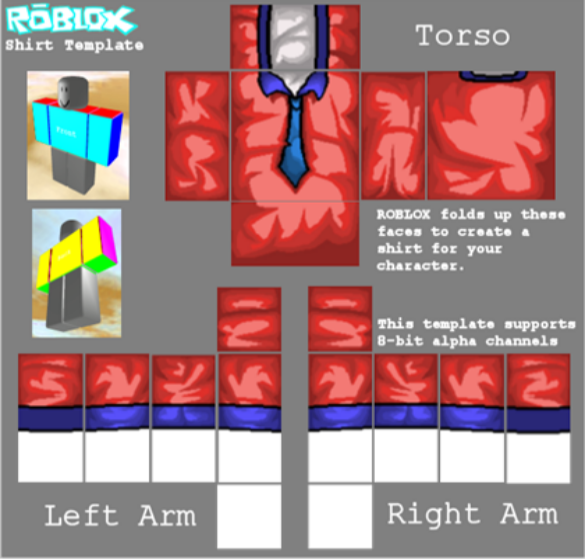
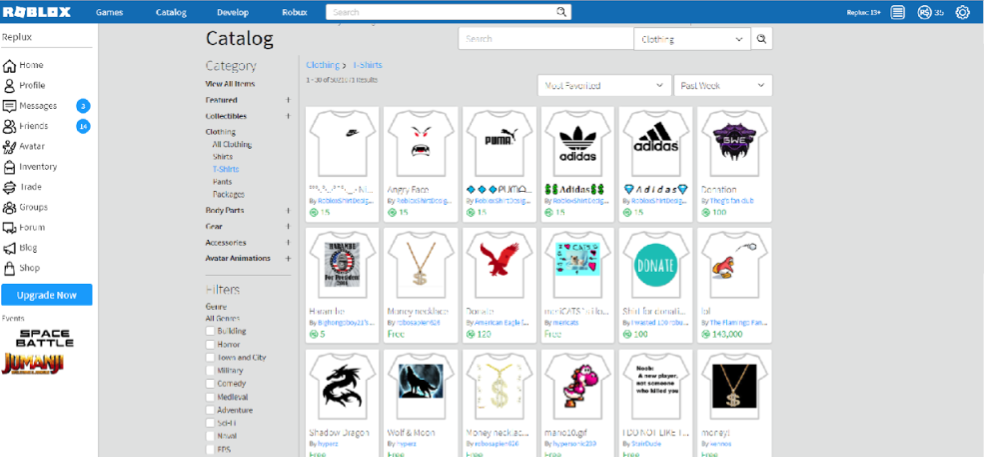
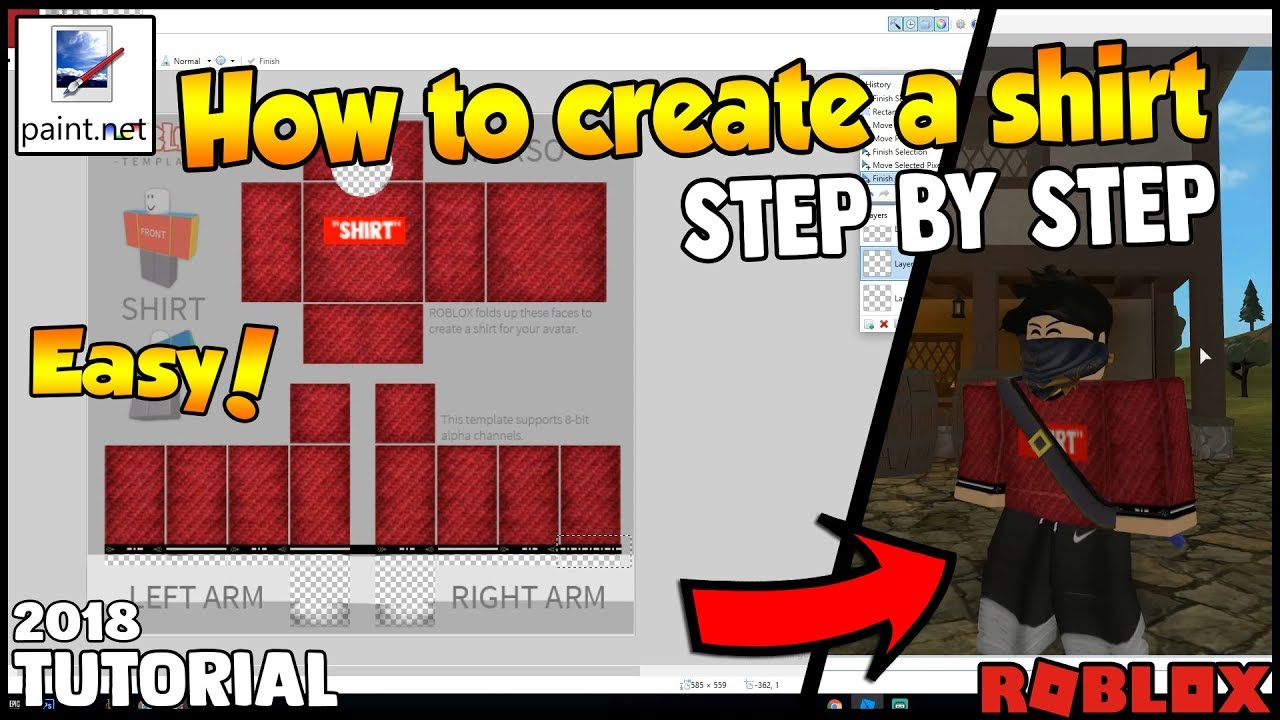
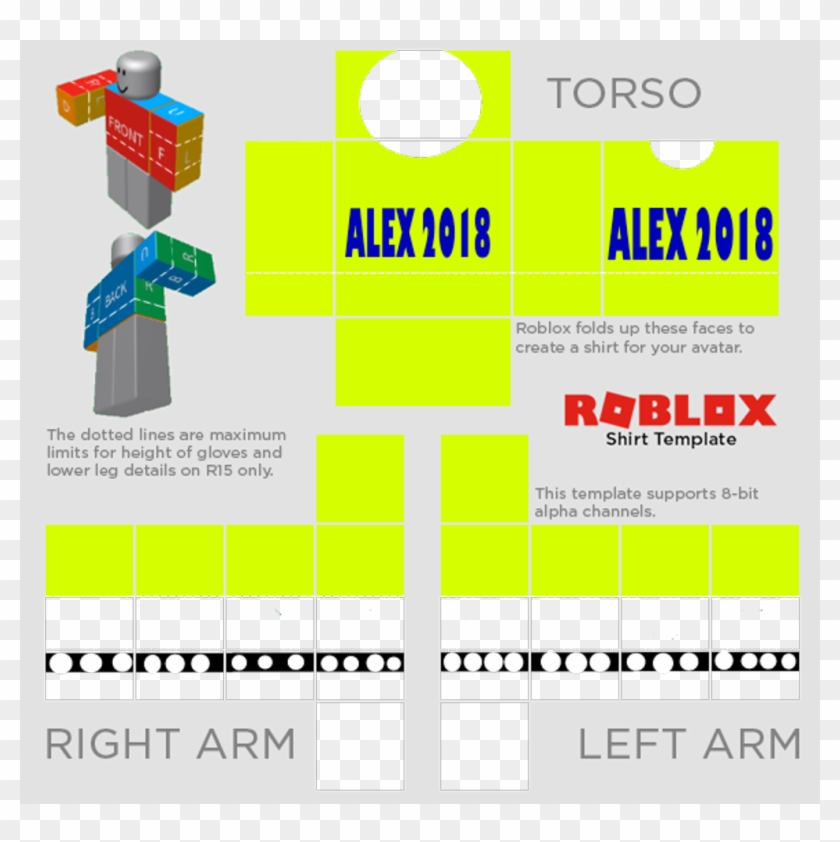
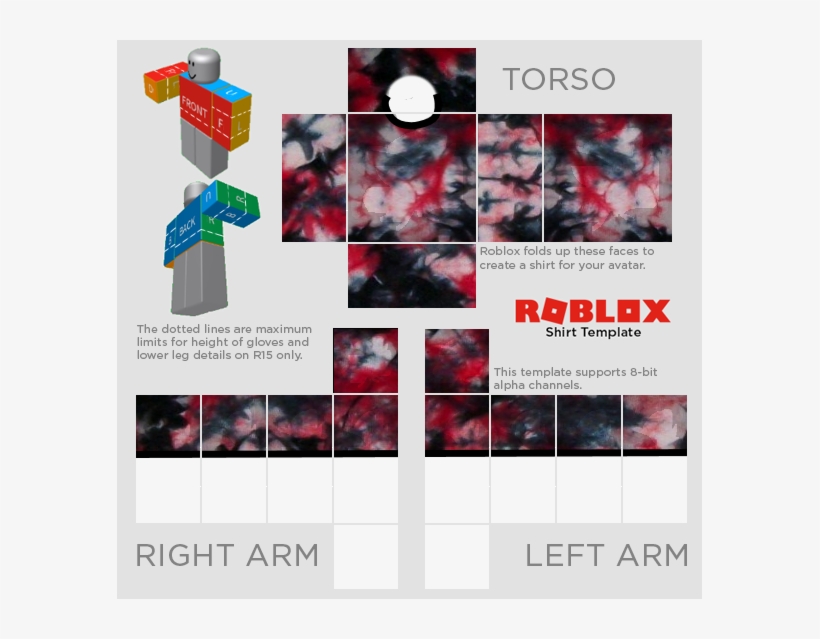
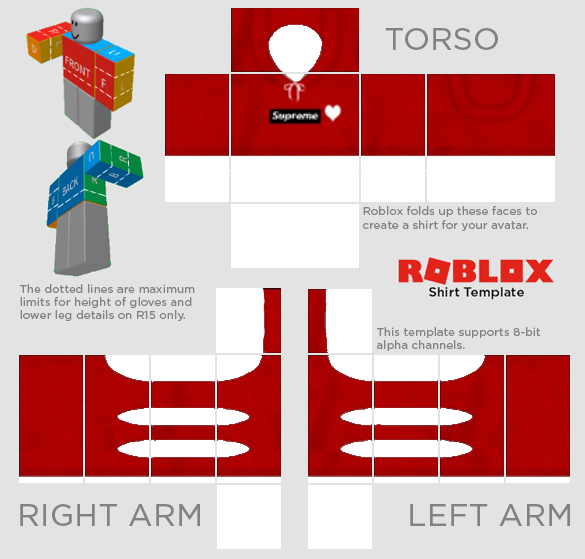
How to create a shirt in roblox 2018. Then open it in a photo editing program like gimp or photoshop and add your own images or drawings to it. Select the robux checkbox and enter the amount. Select configure and check the sell this item checkbox. Select the cog icon in the top right to access settings.
Then press on it to continue. Finally go to the roblox homepage click on create then shirts and upload your design. Step by step easy and fast. For tips on how to design your roblox shirt keep reading.
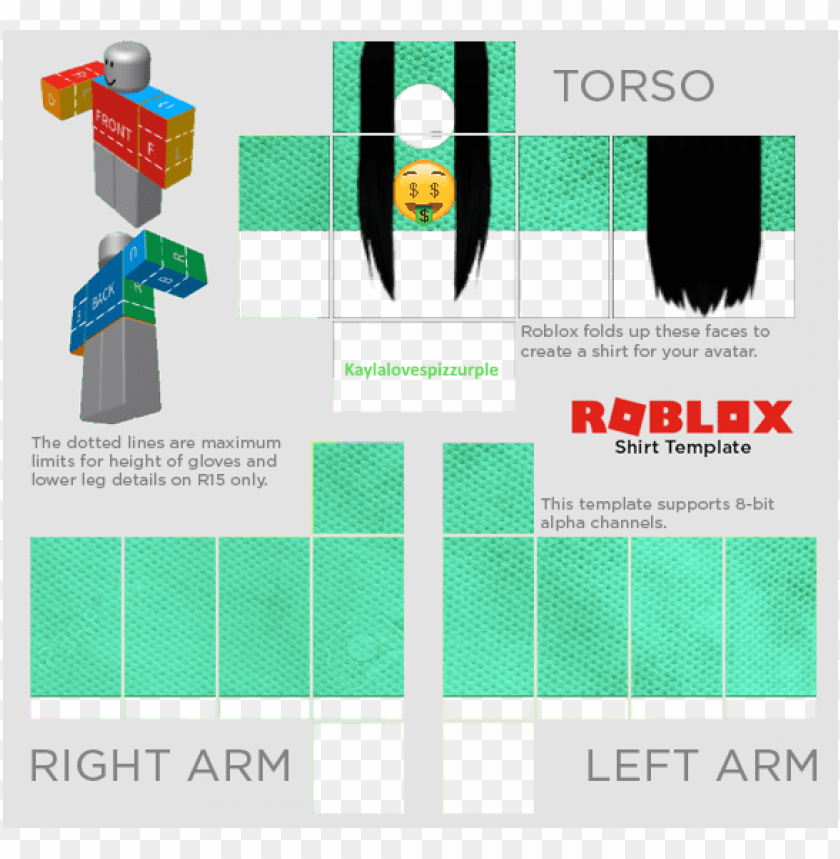
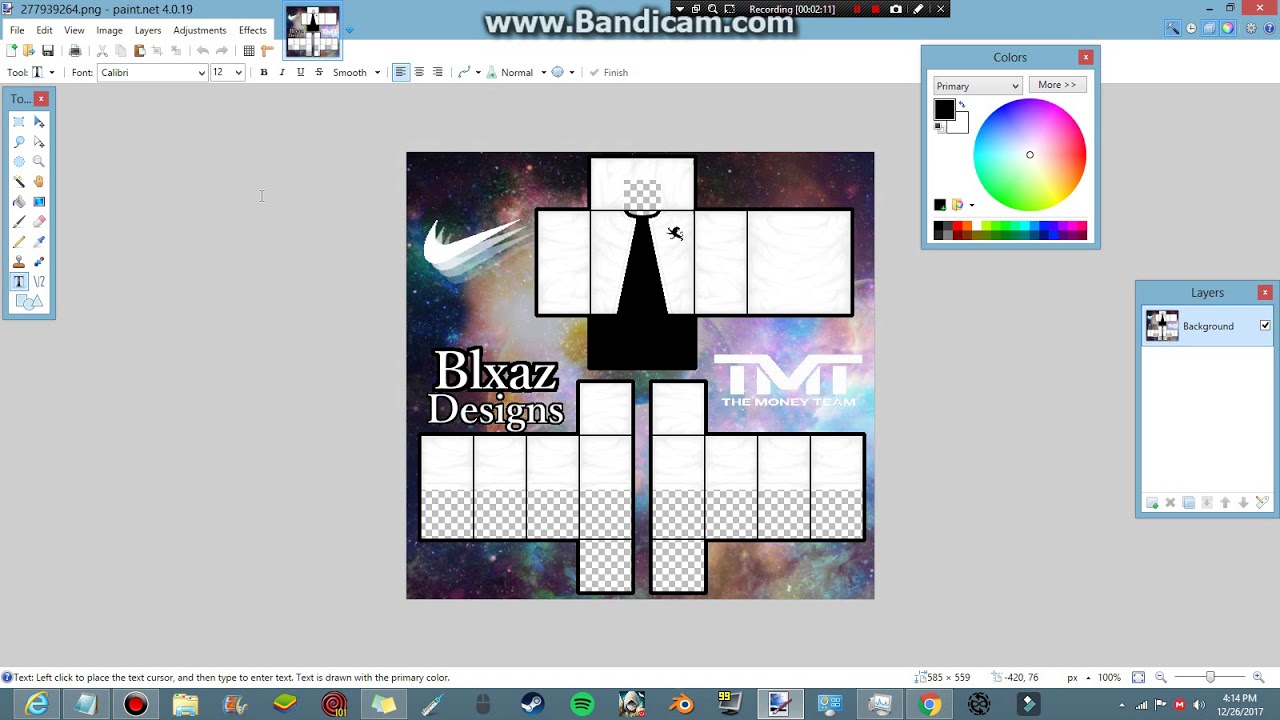
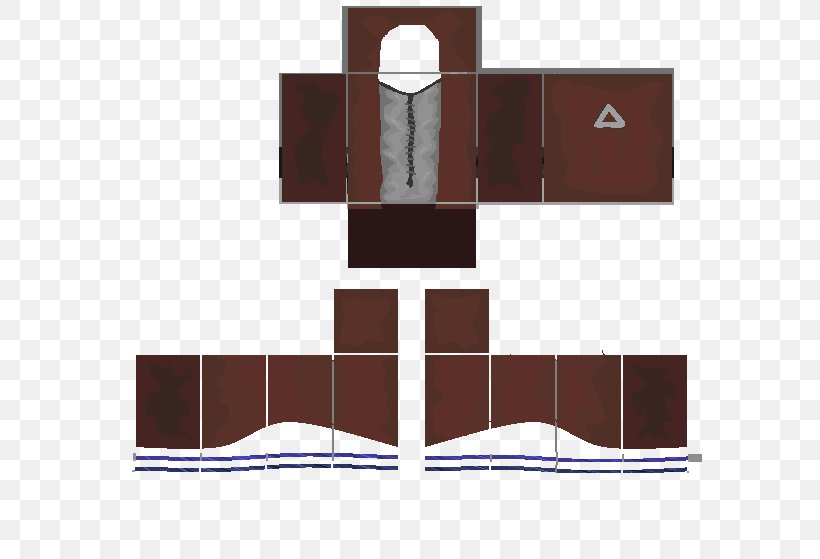
Now you just need to select the shirt image from the png template in the folder where you save it. You can use the paintbucket tool to color the background text tool to add text the t shirt decal. When youre finished designing your shirt save it on your computer. Select your shirt from within your create window.
For this you need to click on the create option to design a shirt. Thanks for watching please like comment and subscribe if this helped. Use the program tools to design the decal. There is a new window page that will open up asking you to choose the image of your shirt that you want to upload.
New updated vid httpsyoutubexgl hbvz2m showing everyone how to make clothing in roblox.

How To Copy Shirt On Roblox 2018 Without Paint Net Bc Needed

How To Create A Shirt On Roblox 2018 لم يسبق له مثيل الصور Tier3 Xyz

How To Make Your Own Shirt 2018 Easy Fast Tutorial Roblox
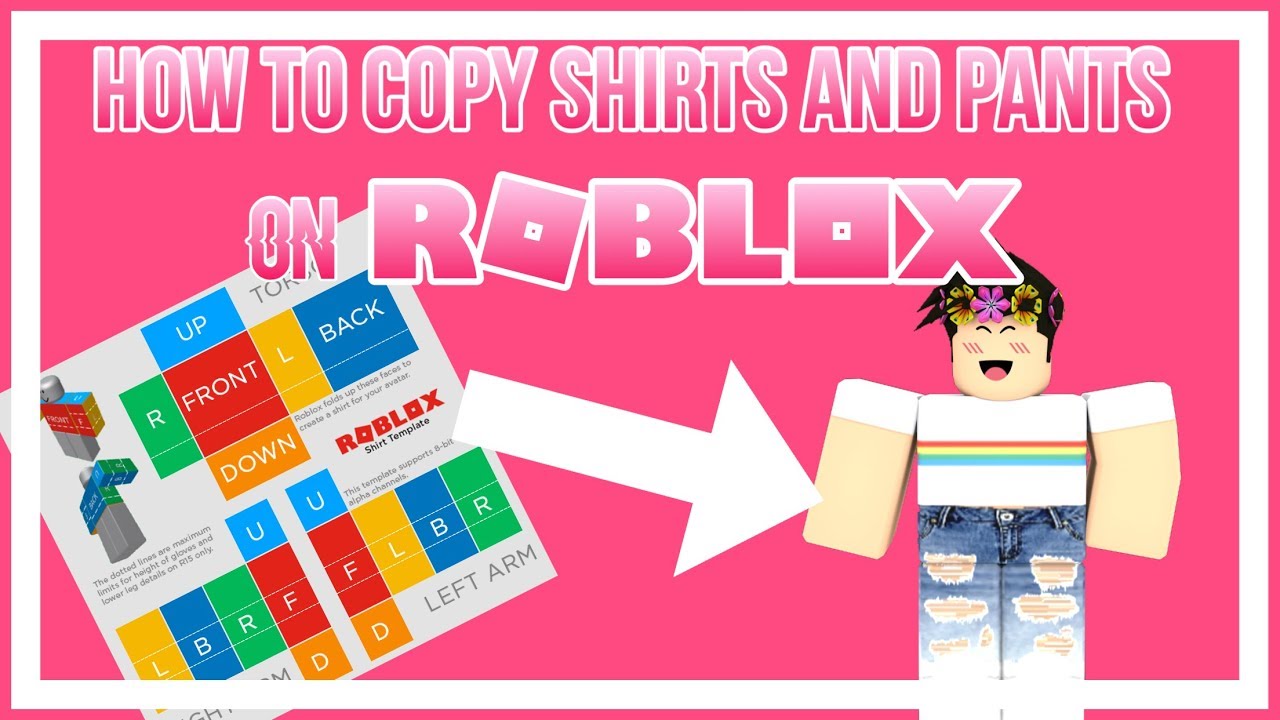
How To Copy Shirts Pants On Roblox 2018 Working Youtube
Roblox T Shirt Template Create Meme Meme Arsenal Com
Did You Use The Template Roblox Shirt Template 2018 Png Image
Adidas 2018 Promo T Shirt Roblox
I Got A Warning On Roblox For Trying To Make A Shirt Lwiay

How To Create A Shirt In Roblox With Pictures Wikihow

This Meme Has Been Banned On Twitter How To Get Moderated On
Roblox On Twitter Flashbackfriday 10 Years Ago Roblox
How Do You Make Shirts On Roblox Dreamworks
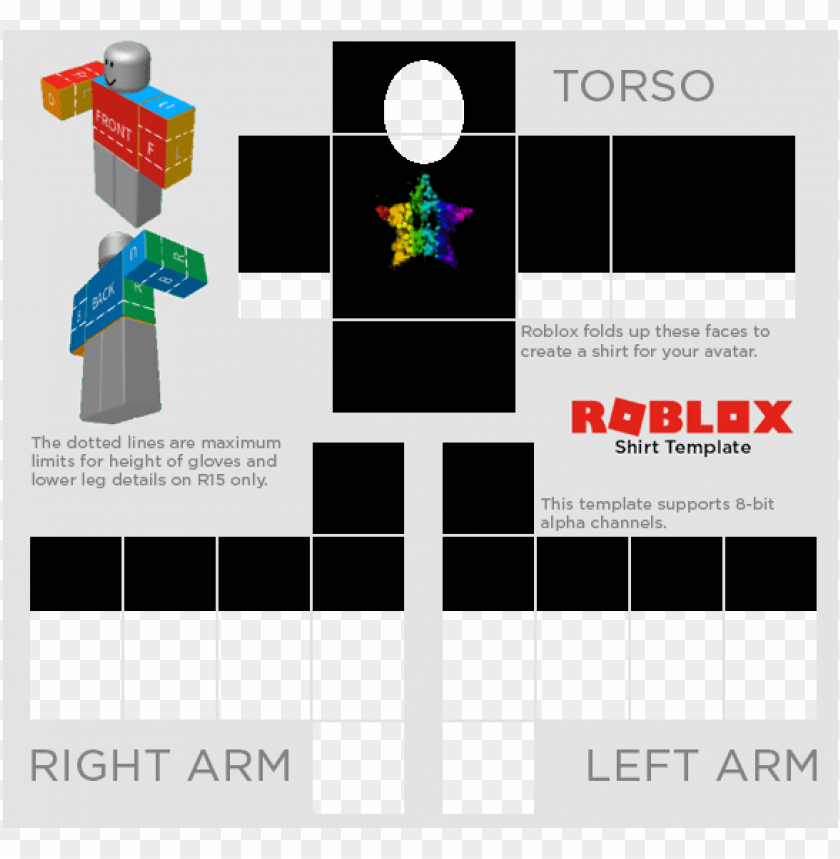
Roblox Galaxy Shirt Template Roblox

Making Avatar Clothing

How To Create A Shirt On Roblox 2018 لم يسبق له مثيل الصور Tier3 Xyz
Https Encrypted Tbn0 Gstatic Com Images Q Tbn 3aand9gct Yjzvqwoszdnnyqddhrvvxwr1nk5 Tbhzvlybw4ntvnuui9so Usqp Cau
Women S And Ladies Online Fashion Shopping Store Low Prices On The

Roblox Shirt No Bc Free Roblox Card Codes 2018 October

How To Make A Group Shirt On Roblox 2018 Youtube

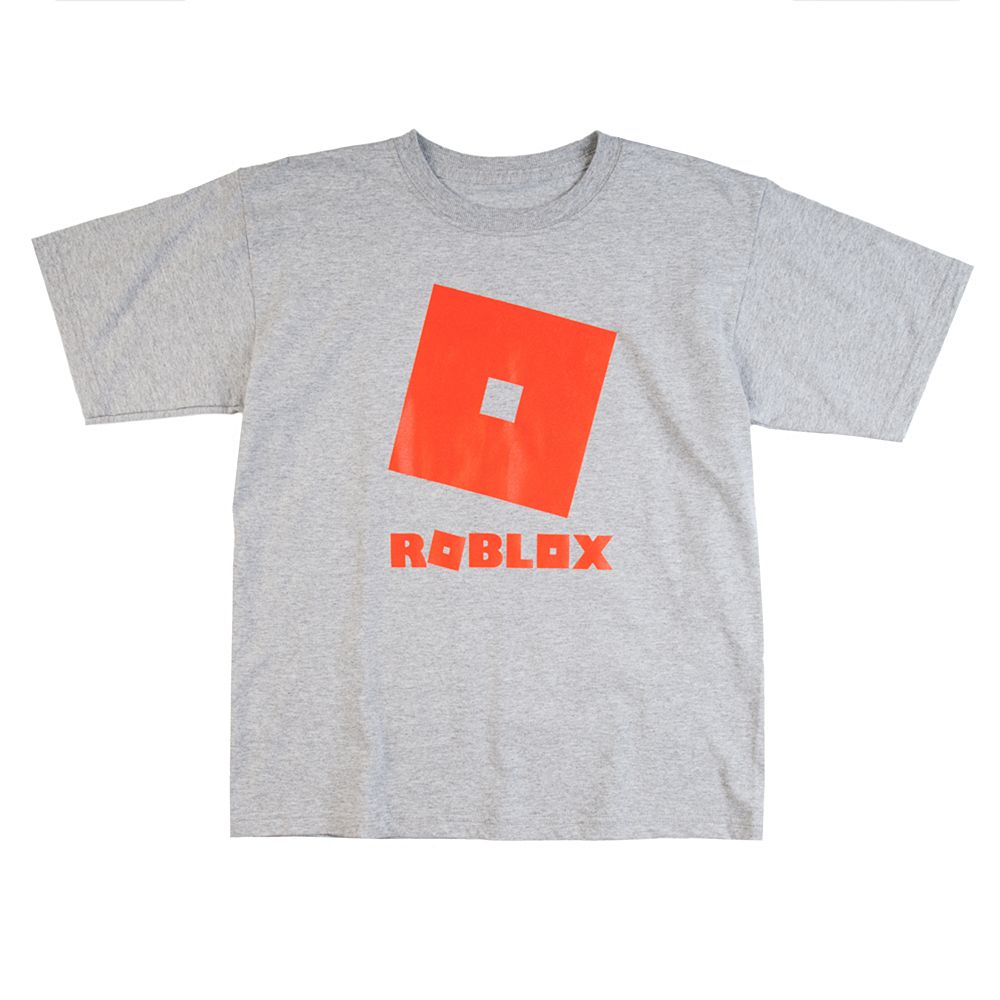
Amazon Com Roblox Logo T Shirt Clothing

Transparent Template Png Roblox Shirt Roblox Create Shirts

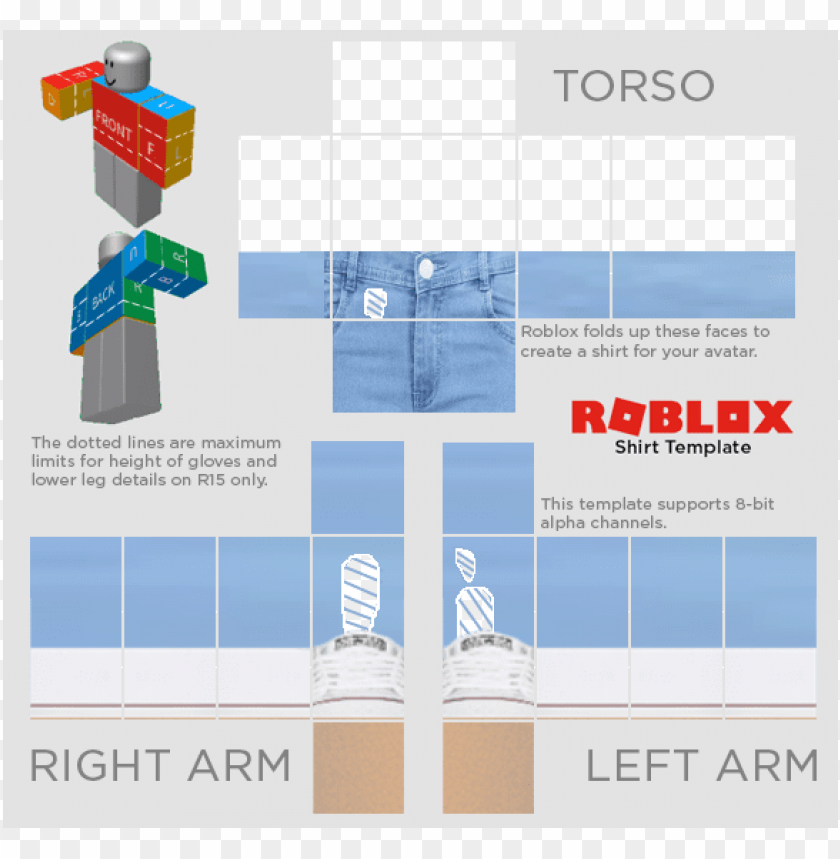
Pants Template 12192016 Png 585 559 Roblox Shirt Roblox
Guest Shirt Template Roblox
How To Make A Shirt On Roblox
How To How To Make A Roblox Shirt 2018 Bc Needed Youtube

View And Download Hd Roblox Templates Roblox Template Twitter

How To Make Clothes On Roblox Easy Youtube
Hey Guys Can U Make This Shirt I Made It But I Cant Roblox Shirt

Heart Shirts Roblox Polo Shirt Template Transparent Png
Irl Shirt Template Roblox The T Shirt Roblox Shirt Template 2018
How To Make A Shirt On Roblox 2018 Working Youtube
Roblox Templates Roblox Template Twitter Roblox Shirt Template
Blue Adidas Hoodie Roblox
How To Make A Shirt On Roblox 2014 Bet C

How To Make A Shirt On Roblox Making Shirts Roblox Shirt Shirt

9 Best Roblox Images Roblox Roblox Shirt Hoodie Roblox
Invisible Shirt Template Roblox
Golden Shirt Roblox

Gray Halter W Adidas Shorts Fishnet Roblox Shirt Template 2018
Roblox Shirt Template 2018 Png Download Roblox Clear Shirt

How To Make Clothes On Roblox Howwiki Pro
Https Encrypted Tbn0 Gstatic Com Images Q Tbn 3aand9gctsclcmbhlnlsvfvms5nrohz4sclnmtdecls3nrz Kpva4c5qgy Usqp Cau
How To Make Clothes In Roblox If You Do Not Have A Develop Button

Image Result For Roblox Shirt Design Roblox Shirt Roblox

How To Create Clothing On Roblox 2018 لم يسبق له مثيل الصور
How To Make A Shirt In Roblox 2018 لم يسبق له مثيل الصور Tier3 Xyz

How To Make A Shirt On Roblox Aptgadget Com

How To Create Shirts Roblox 2018 Rldm
Roblox Shirt Maker Roblox

File Template Transparent R15 04192017 Png Roblox Shirt Create

How To Make Roblox Shirts 2018 Lauren Goss

Download Roblox Templates Roblox Template Twitter Roblox Shirt

How To Make A Shirt In Roblox 2018 2019 Youtube

1 Reply 0 Retweets 1 Like Roblox Shirt Template 2018 Transparent

Making Avatar Clothing
Https Encrypted Tbn0 Gstatic Com Images Q Tbn 3aand9gctmlkrzlxtup Lg8onikjwfk6r4t4mut0jykzkf6lo Usqp Cau

How To Download Roblox Shirt Template 2018 Roblox Shirt Shirt
Roblox T Shirt Template Create Meme Meme Arsenal Com
How To Create Clothing On Roblox 2018 لم يسبق له مثيل الصور
How To Earn Robux On Roblox

Roblox Sweater Names Free Robux Codes For 2019
How To Make Your Own Clothing In Roblox 2018 لم يسبق له مثيل الصور

Shirt Template Roblox Shirt Template 2018 Transparent Png

2018 Roblox Moana Dmdm Pig Luminous Sleeves T Shirts For Superman

How To Make Shirts On Roblox Without Bc And Get Profit 2018

How To Make A Shirt On Roblox 2017 2018 Youtube

Women S And Ladies Online Fashion Shopping Store Low Prices On The
How To Make Your Own Shirt 2018 Easy Fast Tutorial Roblox

How To Create A Shirt On Roblox 2018 لم يسبق له مثيل الصور Tier3 Xyz

How To Make Clothes On Roblox 2018 Roblox Tutorial Youtube

Roblox Templates Roblox Template Twitter Roblox Pinterest Roblox

Roblox How To Steal Shirts Pants T Shirts On Roblox 2018 Youtube

Shirts Roblox 585x559 Create Meme Meme Arsenal Com

How To Make A Roblox Shirt 2018 Youtube

Unpatched 2018 How To Unlock To Unlock Any Shirt Pants On Roblox
Roblox Template Sticker By Alex2018 Roblox Shirt Template 2019

How To Create Your Own T Shirt On Roblox Bet C

Roblox Shirt Template 2018 Transparent Png 585x559 Free
How To Copy Any Shirt On Roblox 2018 Outdated Desc For New Video
How To Create Shirts Roblox 2018 Rldm
How To Make A Group Shirt On Roblox 2018 Toffee Art

Friend Unable To Submit A Shirt Roblox

How To Make A T Shirt In Roblox 2018 لم يسبق له مثيل الصور Tier3 Xyz
Roblox T Shirt Template Wordpress Png 585x559px Roblox Brand

Graphic 3d How To Create T Shirts And Clothes In The Roblox Game

Download Roblox Cat Shirt Template Clipart T Shirt Free Roblox

How To Create A Shirt In Roblox With Pictures Wikihow

10 Best Roblox Images On Pinterest Roblox Shirt Shirt Designs
Roblox Robloxclothingpic Twitter Com Uimkalf46t Roblox
Download Roblox Template Png Roblox Shirt Template 2018 Png
2018 Summer Fashion Design Roblox T Shirts Wish
Roblox Shirt Template Transparent 2018 Light Green Aesthetic
Wrinkled Shirt Template Beginner Roblox
Roblox Tshirt Png Roblox Youtube Shirt Template Png Image With
Transparent Roblox Shirt Or Pants Template Roblox
Red Adidas T Shirt Roblox
Https Encrypted Tbn0 Gstatic Com Images Q Tbn 3aand9gcsp3ntlvspcukets0zmzhbvjp6bfa1vpaal6ciqho4 Usqp Cau
How To Create Shirts Roblox 2018 Rldm
Oh Yes Daddy Caillou Roblox

Music Codes For Roblox Youtube Best
Bear Face Code Roblox

1 Robux To Usd

Roblox Id Please Help Me

Roblox Guests Art

Best Ps4 Nicknames
How To Create Roblox Clothing July 2018

Faceless Aesthetic Faceless Girl Icon Tumblr

Roblox Youtube Videos

Tower Battles Videos Youtube Roblox

Killer Games Roblox

Roblox Vip Server Wiki

Anoldwanderer

Center Game Accepted Danish Gambit

Dibujos Imagenes De Roblox Para Dibujar

Dbz Tabletop Rpg Pdf
Albert Green Screen Man Song